3175x175(CURRENT).thumb.jpg.b05acc060982b36f5891ba728e6d953c.jpg)
The Start menu in Windows 11 is a controversial piece of design that scares away some Windows 10 users, especially in light of Microsoft botching UI customization apps and adding blatant ads. However, the company is also working on some user-requested improvements, especially for the "All Apps" section.
Users recently discovered that Windows 11 Beta builds contain a hidden "All Apps" layout that swaps the current—and less than optimized space-wise—option with a mix of grid and list. It was first spotted in quite a raw state, and after some more good tweaks, build 22635.3566 brought more much-needed improvements.
Now, besides having properly working context menus and alphabetical sorting, the new layout displays shortcut folders for apps that register in the Start menu with additional links, such as uninstall, help, and more. Also, Microsoft removed the lines next to each sorting letter, making the new layout slightly more subtle.
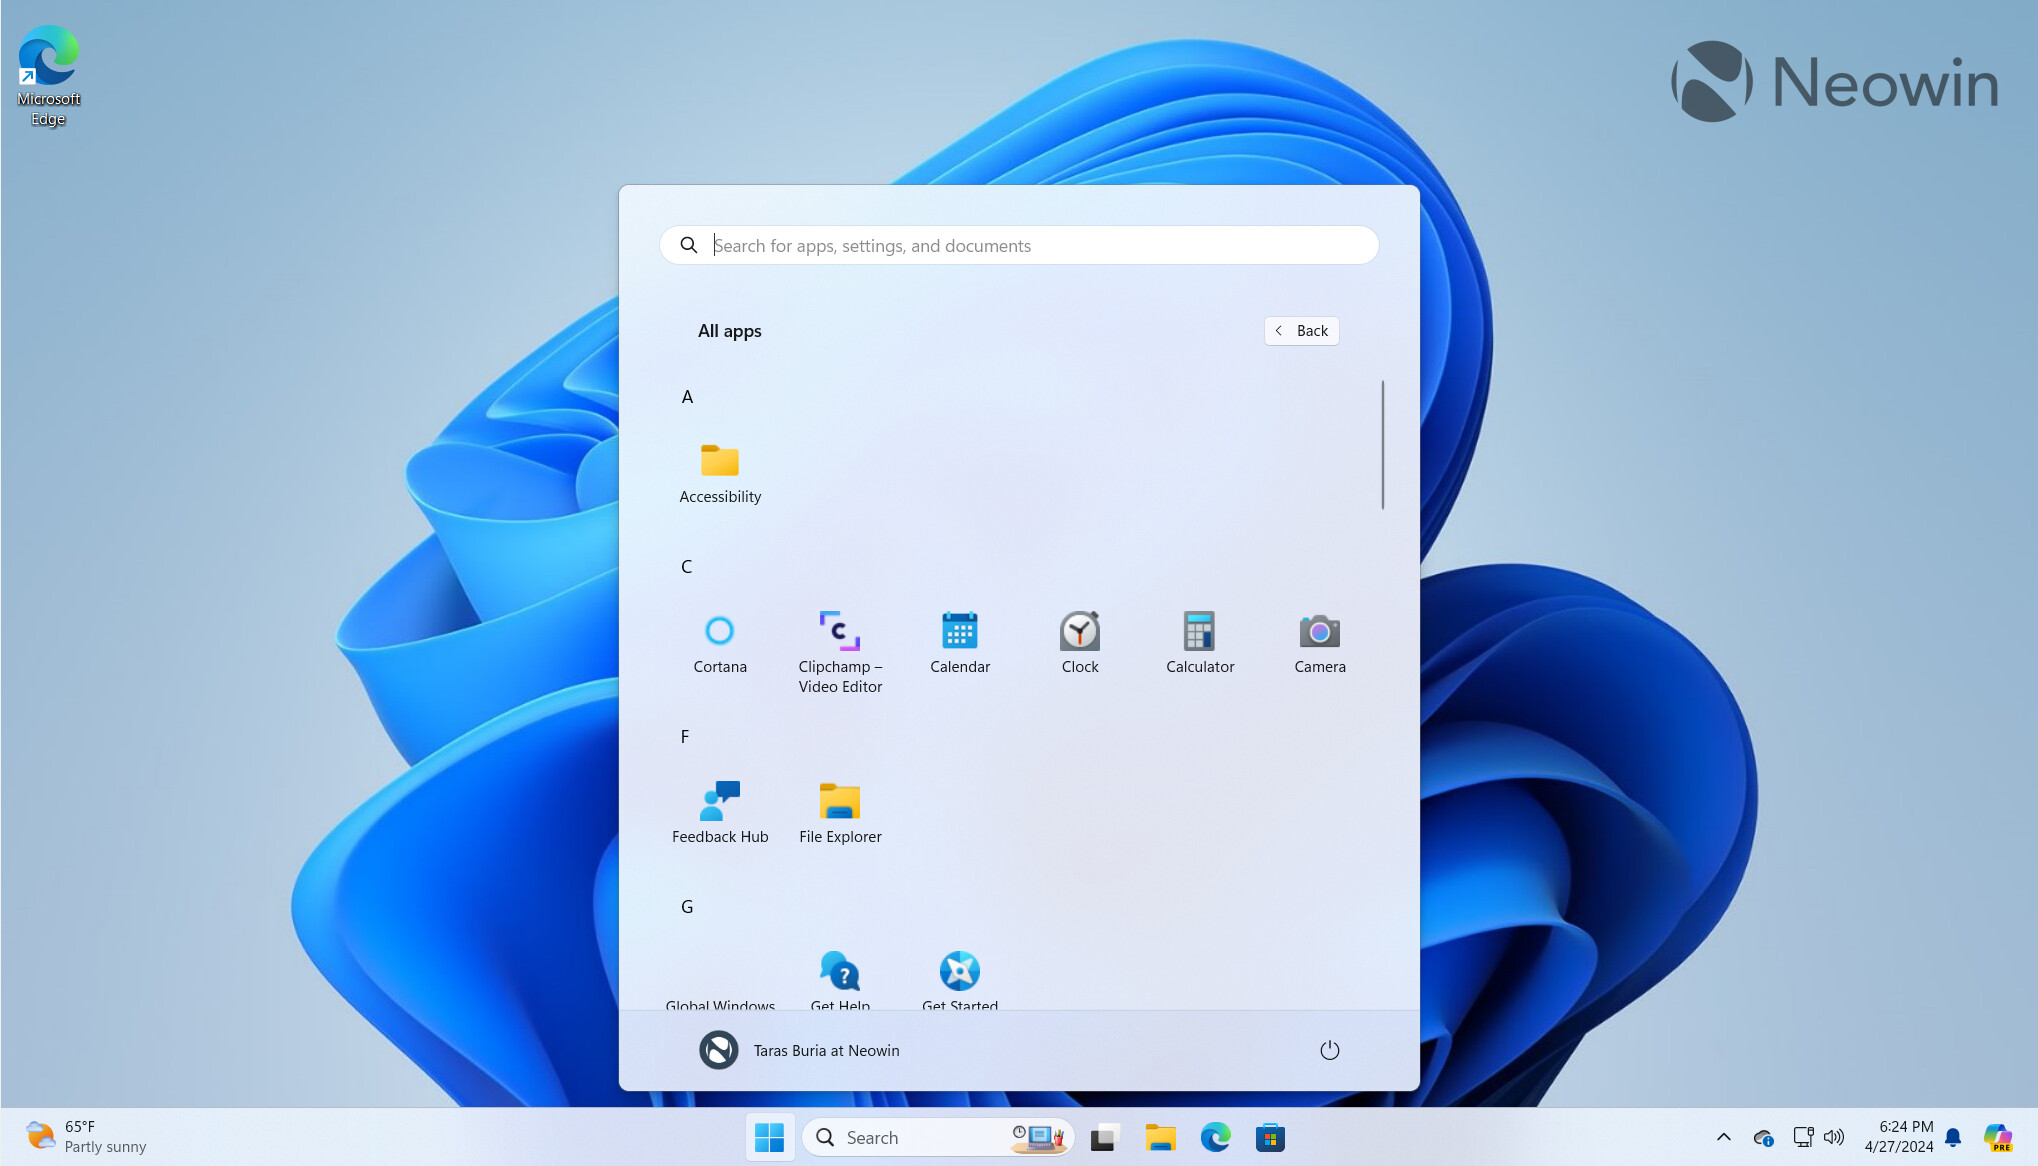
However, just like in previous builds, the new "All Apps" layout in 22635.3566 is half-baked and not ready for prime time. Yes, it displays folders, but clicking one results in the Start menu crashing hopelessly. That is why Microsoft is not shipping the thing yet, so expect more changes and improvements in future builds.
As a reminder, you can turn on the new "All Apps" view for the Start menu in recent Beta builds by executing a command using the ViVeTool app:
- Download ViveTool from GitHub and unpack the files in a convenient and easy-to-find folder.
- Press Win + X and select Terminal (Admin).
-
Switch Windows Terminal to the Command Prompt profile with the Ctrl + Shift + 2 shortcut or by clicking the arrow-down button at the top of the window.

- Navigate to the folder containing the ViveTool files with the CD command. For example, if you have placed ViveTool in C:\Vive, type CD C:\Vive.
- Type vivetool /enable /id:48433719 and press Enter.
- Type vivetool /enable /id:47205210 /variant:2 and press Enter.
- Restart your computer.
Credit for the discovery and IDs goes to @PhantomOfEarth on X.
Recommended Comments
There are no comments to display.
Join the conversation
You can post now and register later. If you have an account, sign in now to post with your account.
Note: Your post will require moderator approval before it will be visible.