3175x175(CURRENT).thumb.jpg.b05acc060982b36f5891ba728e6d953c.jpg)
To enhance recorded Windows video tutorials or live presentations, you can highlight the mouse cursor. This involves applying a highlight effect to the small mouse cursor, making it clearer for viewers to follow while watching any kind of Windows tutorial video or viewing the desktop during screen sharing.
Most users who showcase their Windows desktops to others recognize the importance of highlighting their mouse pointers. Fortunately, there are various ways to highlight the mouse pointer using third-party apps and extensions. This article will demonstrate how to highlight the mouse cursor in Windows 11/10 using PowerToys, Mouse Pointer Highlight, and Cursor Highlight.
How to use Show Location of Pointer to highlight your cursor
If you need to highlight the cursor in Windows, you can choose the Show location of pointer setting. Even though Windows doesn't have many cursor-highlighting features, this setting allows you to briefly highlight the cursor's position with a ring simply by pressing an activation key. Although it's not as advanced as third-party apps that provide colour highlighting, it still effectively displays the cursor's location. To select the Show location of pointer setting, follow these steps:
- Press Win + I to open the Settings app. (Alternatively, you can use other methods to open the Windows Settings app.)
- In Windows 11, select Bluetooth & devices. If you're using Windows 10, select Devices.
- Click on Mouse to view the settings for this device type.
- Look for Additional mouse settings (or Additional mouse options) in the Windows Settings app, and select it.
- In the Mouse Properties window that appears, click on the Pointer Options tab.
- Select the checkbox that says "Show location of pointer when I press the Ctrl key."
- Finally, click on Apply to save your changes in the Mouse Properties window.
To test out the new pointer highlighting, press the Ctrl key and observe a circle expanding and quickly shrinking around the cursor. This feature is intended to help users locate their mouse pointers. However, it may be an unnecessary feature for that purpose since moving the mouse around is typically the most effective way to find the cursor.
That being said, this feature can be advantageous for Windows video tutorials. Enabling the circle animation will draw viewers' attention to the cursor's position. It can be used to briefly highlight settings by positioning the cursor next to any option that requires selecting.

Highlight your cursor with Mouse Pointer Highlight
If you desire a permanent colour highlight for the cursor, you can consider using the Mouse Pointer Highlight app. This freely available app adds a transparent colour circle to the cursor, providing a more visible and colourful highlighting effect. Here are the steps to highlight the cursor using Mouse Pointer Highlight:
- Download and install the Mouse Pointer Highlight app on your Windows device.
- Once installed, launch the app.
- Choose the colour of the highlight you prefer by clicking on the coloured circle in the app's window.
Upon launching the Mouse Pointer Highlight app, a default yellow circle highlight will automatically appear around your cursor. To change the colour of the circle, click on "Select colour" and choose a different colour from the palette.
The size of the circle highlight defaults to 30, but you can adjust it to be smaller or larger by entering a value less than or greater than 30 in the "Size" box. Similarly, you can modify the circle's transparency by changing the value in the "Opacity" box. A lower value will increase transparency, while a value of 0 will make the circle invisible and a value of 255 will remove all transparency.
The app also features a click highlight effect that displays a second circle with a different colour briefly around the cursor whenever you click the mouse. You can enable this feature by selecting the "Enable" checkbox. The size, opacity, and display time of this secondary circle can be configured in the same manner as the primary circle.
Once you have configured the cursor highlighting to your preferences, click on the "Apply Setting" button. Note that the app must remain running for the cursor highlighting to work, but it does not run in the background with a system tray icon. You can minimize the app's window to the taskbar when not in use.
Use PowerToys to highlight your cursor
PowerToys is an app that provides access to several useful new tools and features for Windows 11/10. If you're interested in learning more about the capabilities of PowerToys, our "best things to do in PowerToys" guide can provide insight into some of the tools that can be activated with this software.
Among the various features of PowerToys is the Mouse utilities tab, which allows users to enable a colour highlight circle for their cursor. Here's how you can set up mouse cursor highlighting using PowerToys:
- Open the Microsoft PowerToys app page in the Microsoft Store.
- Click "Get" and "Open Microsoft Store" to install PowerToys on your device.
- Once PowerToys is installed, open the app from your Start menu's app list.
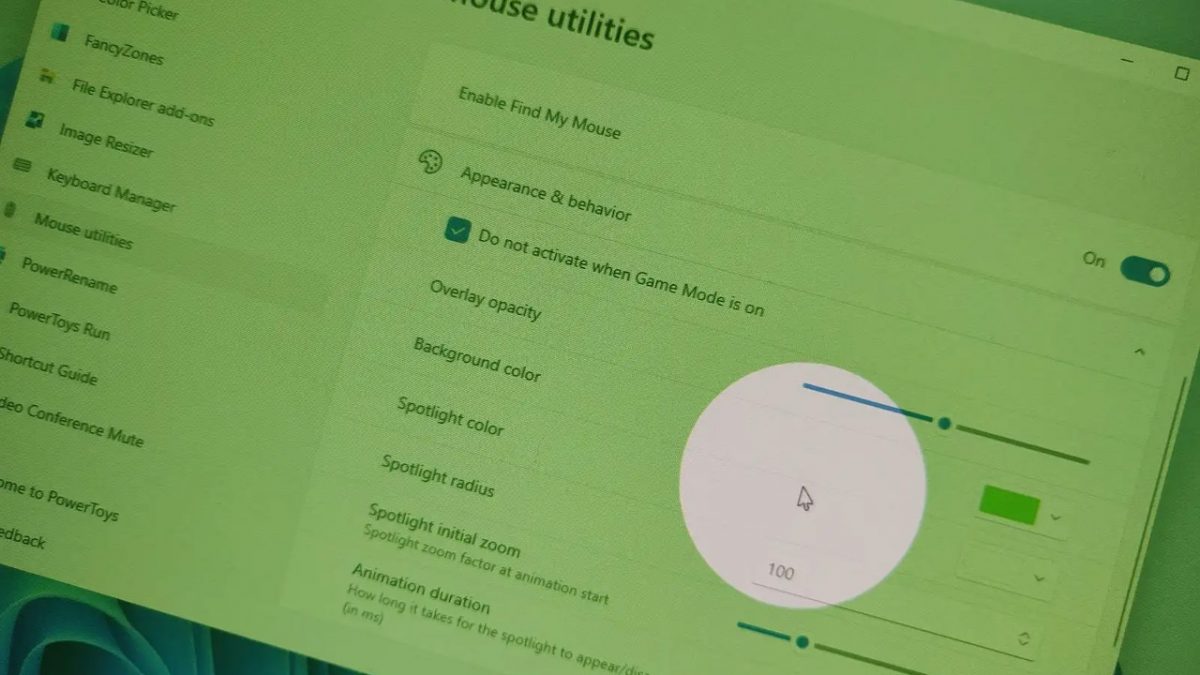
- Click on the "Mouse utilities" tab.
- Scroll down and turn on the "Enable Mouse Highlighter" option.
- Press the Windows logo key + Shift + H hotkey to activate the highlighter.
It's important to note that PowerToys' cursor highlighting only applies to mouse clicking. You'll see yellow and blue colour circles whenever you right or left-click the mouse by default.
To customize PowerToys' cursor highlighting, follow these steps:
- Click on "Appearance and Behavior" in the Mouse utilities tab to view further options.
- Click on either the "Primary" or "Secondary" button boxes to access palettes from which to select different colours for the highlight.
- Use the Opacity bar's slider to adjust the transparency level of the highlighting effect.
- Click on the "Radius" option to select a different size value for the circle.
Use the Cursor Highlighter browser extension to highlight your cursor
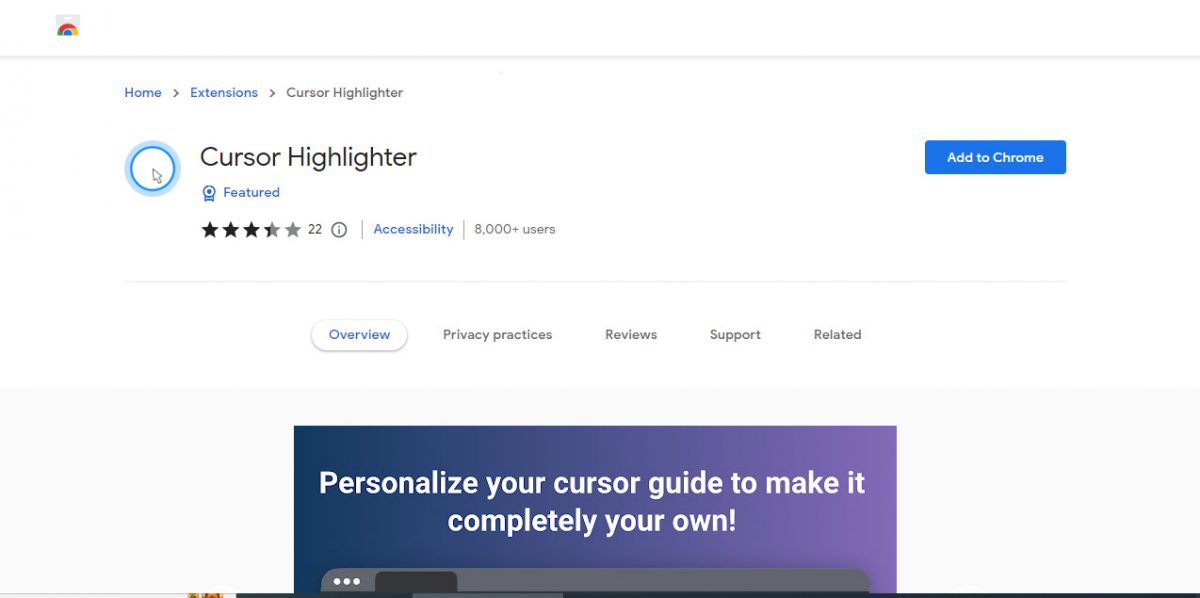
If you only require cursor highlighting in Edge or Chrome, the Cursor Highlight extension for those browsers may be worth checking out. This extension adds a colour circle to the mouse pointer and highlights it with a nice animation effect, which is not available with PowerToys or Mouse Pointer Highlighter. Here's how to highlight your cursor with this extension:
- Open the Cursor Highlighter page in Edge or Chrome.
- Click the "Add" button to install the extension.
- Press the "Extensions" button in Chrome or Edge.
- Click on Cursor Highlighter to view the extension's options.
- Turn on the "Enable/Disable" option.
- Click the colour palette box to select a colour for the highlight and save your selection.
- Open a new webpage in your browser to view your highlighted cursor.\
Make your cursor pop
Highlighting your cursor in Windows 11/10 can make it stand out and be more visible. The highlighting options available in PowerToys and Mouse Pointer Highlight apps are especially useful for presentations and tutorials. The Windows "show pointer" feature and the Cursor Highlighter extension also provide visual cursor indicators, though with slightly less functionality. Whichever option you choose to employ, you now have all the tools you could need to make your cursor pop.
Enhancing Cursor Visibility in Windows 11/10: Tips and Tools
Recommended Comments
There are no comments to display.
Join the conversation
You can post now and register later. If you have an account, sign in now to post with your account.
Note: Your post will require moderator approval before it will be visible.