

3175x175(CURRENT).thumb.jpg.b05acc060982b36f5891ba728e6d953c.jpg)
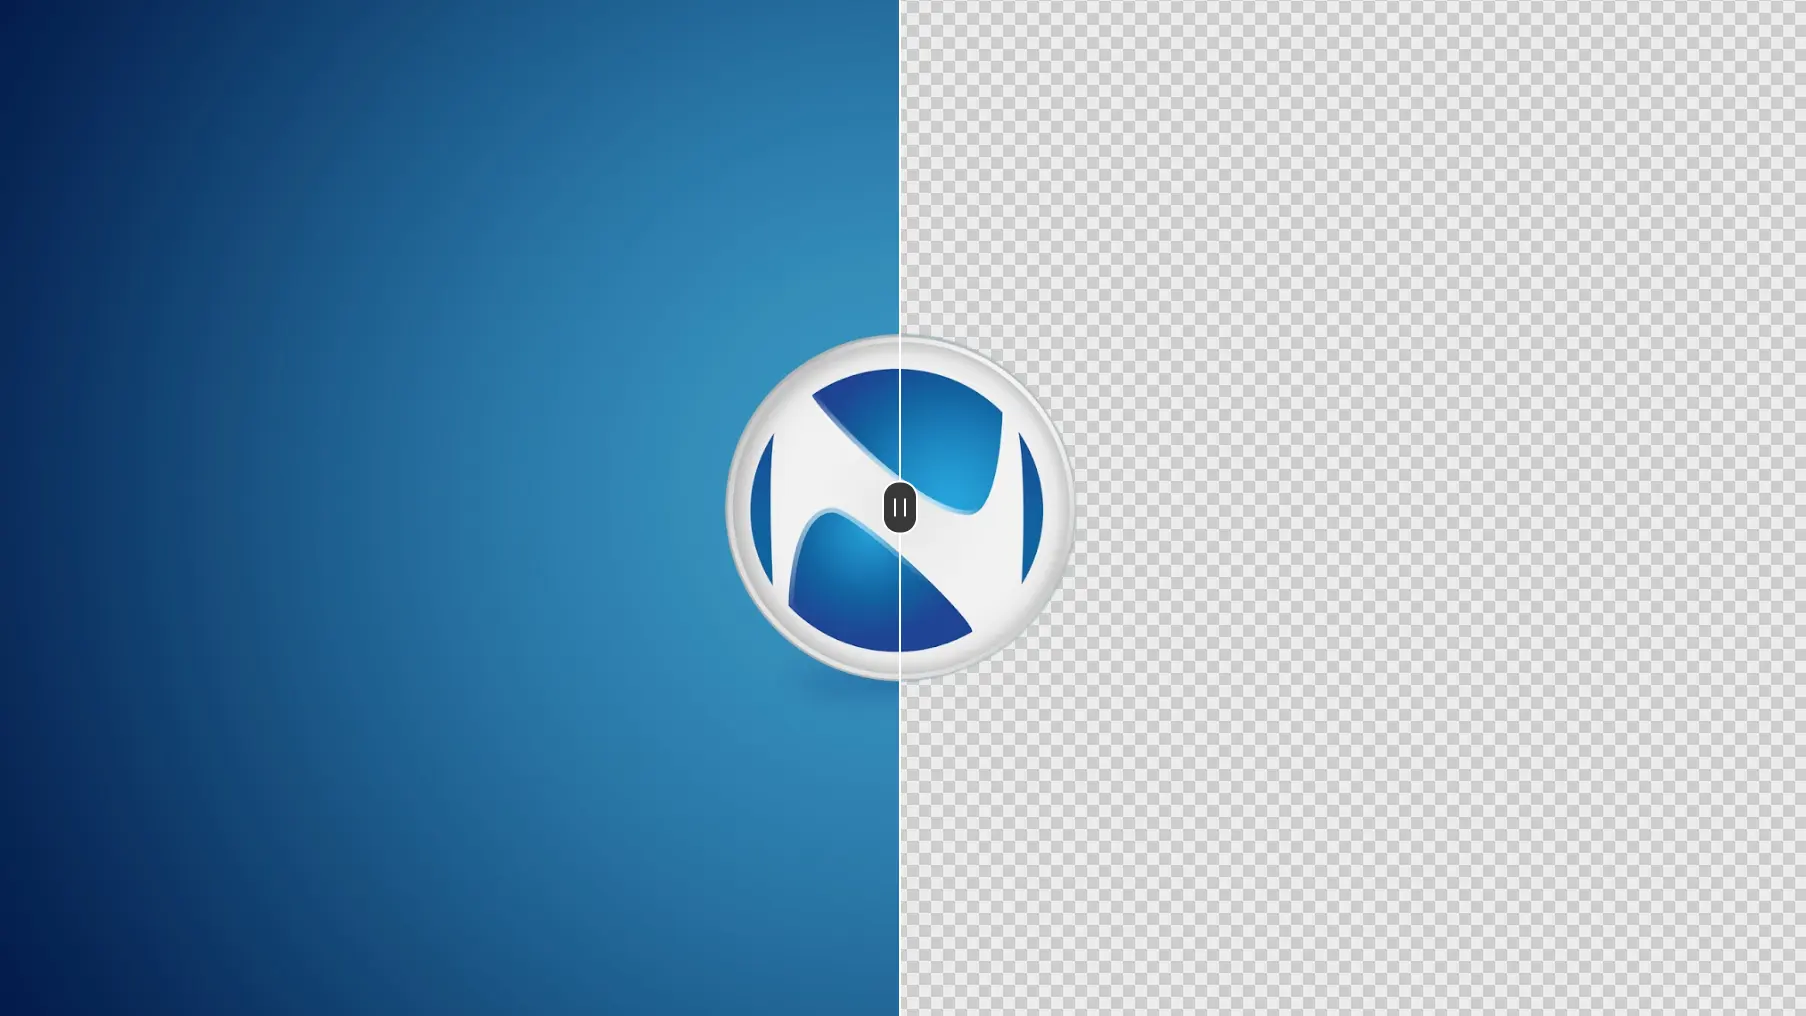
ShareX brings support for local background-removal AI models. This allows you to remove the background from any image without complex edits.
Over the years, ShareX has turned a simple action, such as taking a screenshot on your PC, into a science. What started as a simple alternative to Windows’ often inconsistent Snipping Tool has now become an advanced suite of features that lets you do virtually anything with the screenshots you take.
The latest version of the software, ShareX 21.0, was recently released to the public, and it brings one revolutionary feature for manipulating screenshots. The latest version of ShareX now lets you remove the background from screenshots using AI.
ShareX implemented support for on-device background-removal AI models. Once you set everything up, you just need to load an image, click one button, and it will automatically remove the background of any screenshot or image you put in.
Here’s how to install a background-removal AI model in ShareX:
- In ShareX, open Tools -> Background remover.
- Next to the Models list, click the folder button to open the models folder.
- Download an .onnx model (link below), and place the file directly in the Models folder.
- Return to the background remover and click the refresh button next to the Models list.
- Select the downloaded model from the list.
ShareX recommends using the bria-rmbg-2.0.onnx model, but you can experiment with other models, too. Keep in mind that these are all third-party models, so pay attention to their licensing terms.
How to remove background from images using ShareX
- Click Browse and select an image.
- Select a model and processing device. You can choose if you want the model to use your GPU or CPU to process the image. If you've got a decent GPU, it will do it faster.
- Click Remove Background.
- Preview the result, then click Save or Save as.
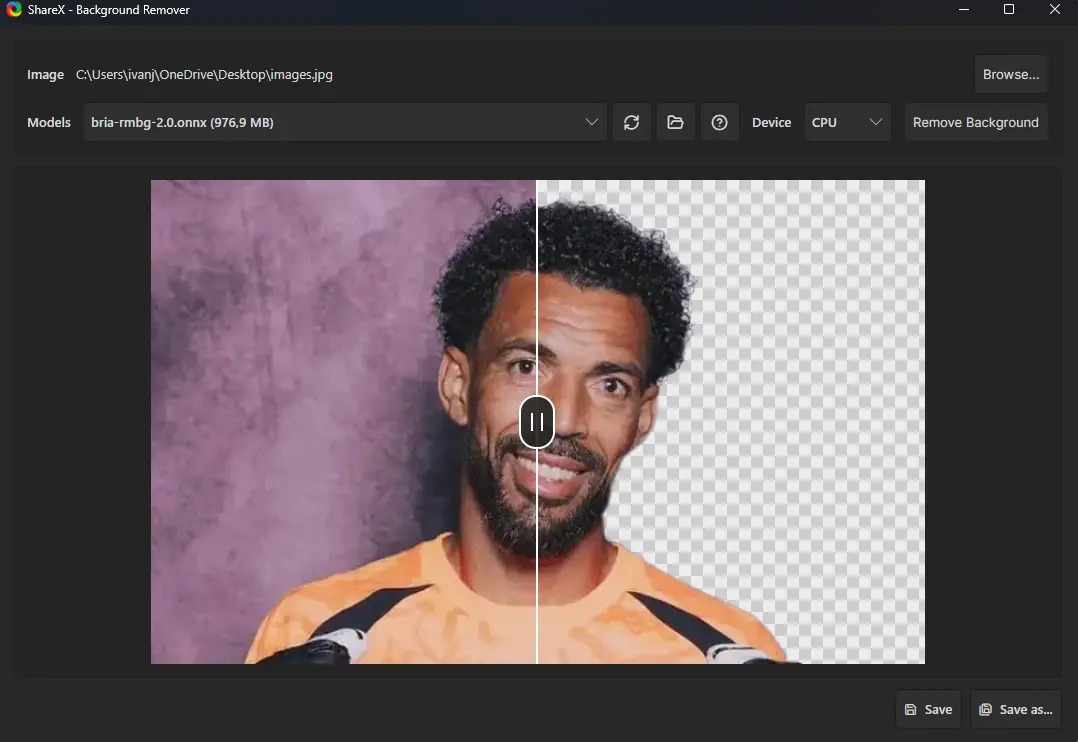
I put this one to the test, and I have to say that the results were actually a mixed bag. Most of the background removal jobs turned out fine, with AI accurately separating the subject from the background. However, it’s still not perfect, and an actual editor doing this in Photoshop would certainly do a better job.
The biggest limitation of these background-removal AI models is that they allow for little to no control. You can’t select the subject yourself or give it any other instructions whatsoever. You have to rely on AI to recognize the subject and properly separate it from the background.
This works most of the time when you’re dealing with portraits, where the subject is against a simple background. However, the entire thing may crumble down when it has to work with more complex compositions.
You can download ShareX 21.0 from its official website.
Hope you enjoyed this news post. Feedback welcome.
Posted Tuesday 7 July 2026 at 8:36 am AEST (my time).
News posts: 2023 5,800+ | 2024 5,700+ | 2025 5,700+ | 2026 (to end of June) 2,475


Recommended Comments
There are no comments to display.
Join the conversation
You can post now and register later. If you have an account, sign in now to post with your account.
Note: Your post will require moderator approval before it will be visible.