
3175x175(CURRENT).thumb.jpg.b05acc060982b36f5891ba728e6d953c.jpg)
How to bypass the Windows 11 TPM 2.0 requirement
Microsoft now requires a computer to have a TPM 2.0 module to install Windows 11. However, new Registry entries have been discovered that allow you to bypass the TPM requirement and minimum memory and secure boot requirements.
With Windows 11, Microsoft added new minimum system requirements that all devices need to have a TPM 2.0 security processor to power some of the operating system's security features.
"The following Windows features require TPM 2.0: Measured Boot, Device Encryption, WD System Guard, Device Health Attestation, Windows Hello/Hello for Business, TPM Platform Crypto Provider Key Storage, SecureBIO, DRTM, vTPM in Hyper-V," Microsoft told BleepingComputer.
For most people running CPUs created in the past 5-6 years, a firmware-based TPM (fTPM) is built into the CPU and can be enabled in the BIOS.
To enable the fTPM, simply boot your computer into the BIOS and enable the Intel Platform Trust Technology (Intel PTT) or the AMD Platform Security Processor, depending on your CPU.
For those who do not have this feature, you may be able to install a discrete TPM 2.0 processor on the motherboard. However, if your processor is old enough that it does not have one built-in fTPM, your motherboard's module will likely be TPM 1.2, which is not compatible with Windows 11.
This requirement is frustrating for users running Windows 10 on older equipment, as now they are being forced to purchase new hardware to install Windows 11.
Furthermore, as Microsoft has stated in documentation that OEMs can get permission to disable the TPM requirement in Windows 11 for their devices, the question becomes: Do you really need a TPM 2.0 processor to use Windows 11?
How to bypass the TPM requirement in Windows 11
If you are attempting to install Windows 11 and receive a message stating, "This PC can't run Windows 11," it is likely that you do not have a TPM 2.0 installed or enabled.
The good news is that Microsoft includes a new 'LabConfig' registry key that allows you to configure settings to bypass the TPM 2.0, the 4GB memory, and Secure Boot requirements.
Based on the name of this registry key, it is likely used by Microsoft or OEMs to set up a "lab" environment to test the Windows 11 on older equipment or when testing new features.
To bypass the TPM 2.0 requirements when installing Windows 11, please follow these steps:
-
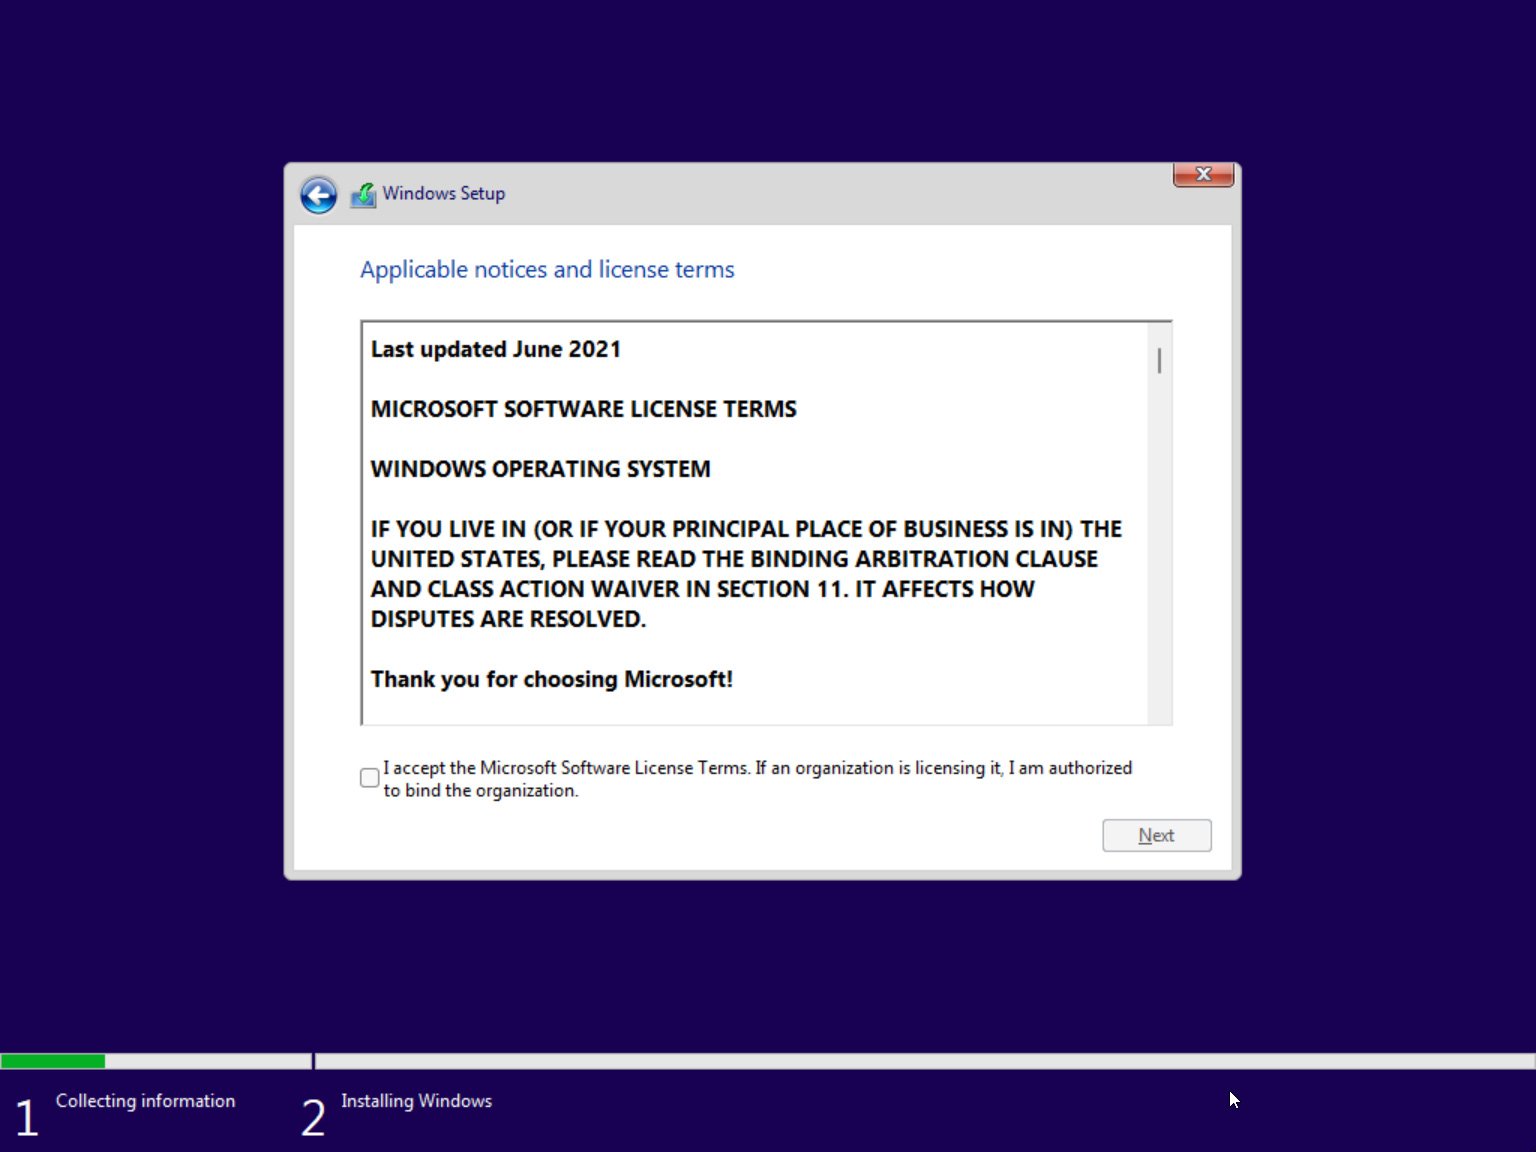
Install Windows 11 via an ISO or the Windows 11 Insider Program. While installing Windows 11, if your computer does not meet the hardware requirements, you will see a message stating, "This PC can't run Windows 11."
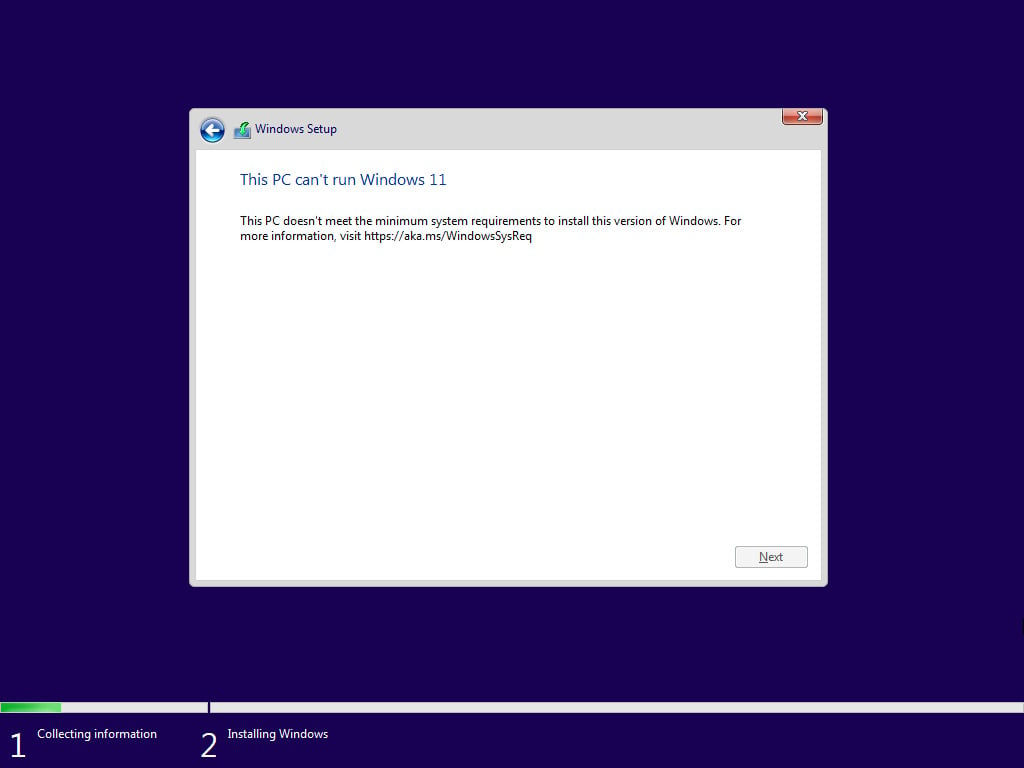
Windows 11 setup blocked due to missing hardware requirements -
When you see the above message, press Shift+F10 on your keyboard at the same time to launch a command prompt. At this command prompt, type regedit and press enter to launch the Windows Registry Editor.
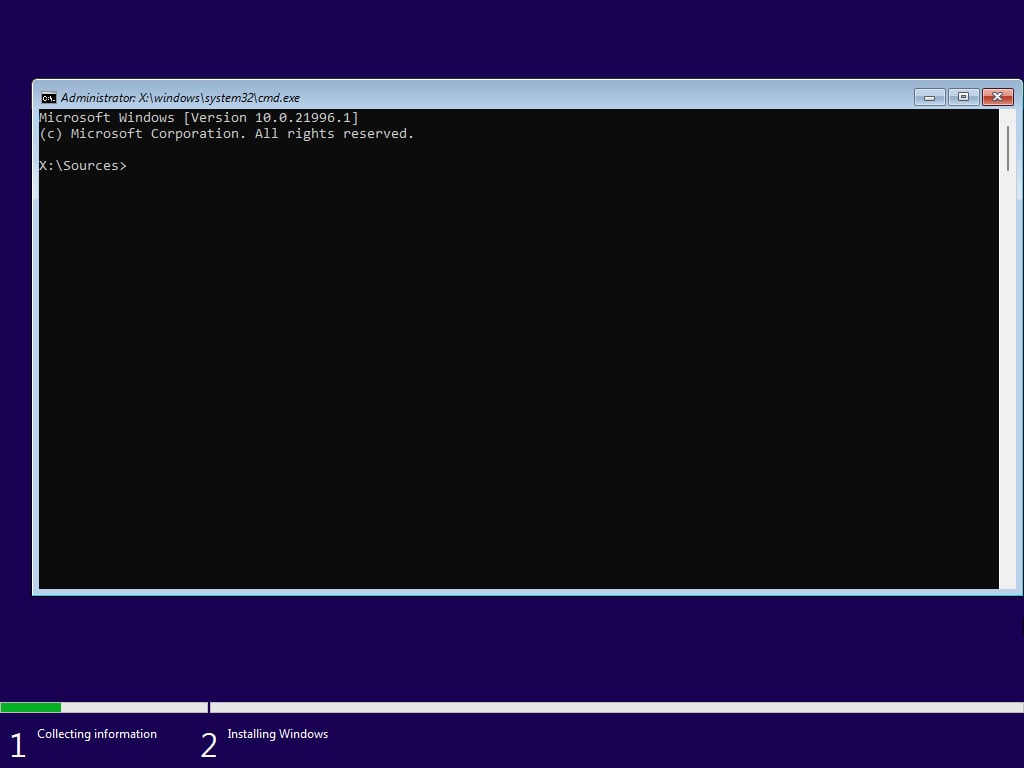
Opening command prompt in Windows Setup -
When the Registry Editor opens, navigate to HKEY_LOCAL_MACHINE\SYSTEM\Setup, right-click on the Setup key and select New > Key.
When prompted to name the key, enter LabConfig and press enter.
Now right-click on the LabConfig key and select New > DWORD (32-bit) value and create a value named BypassTPMCheck, and set its data to 1. Now create the BypassRAMCheck and BypassSecureBootCheck values and set their data to 1 as well, so it looks like the following image.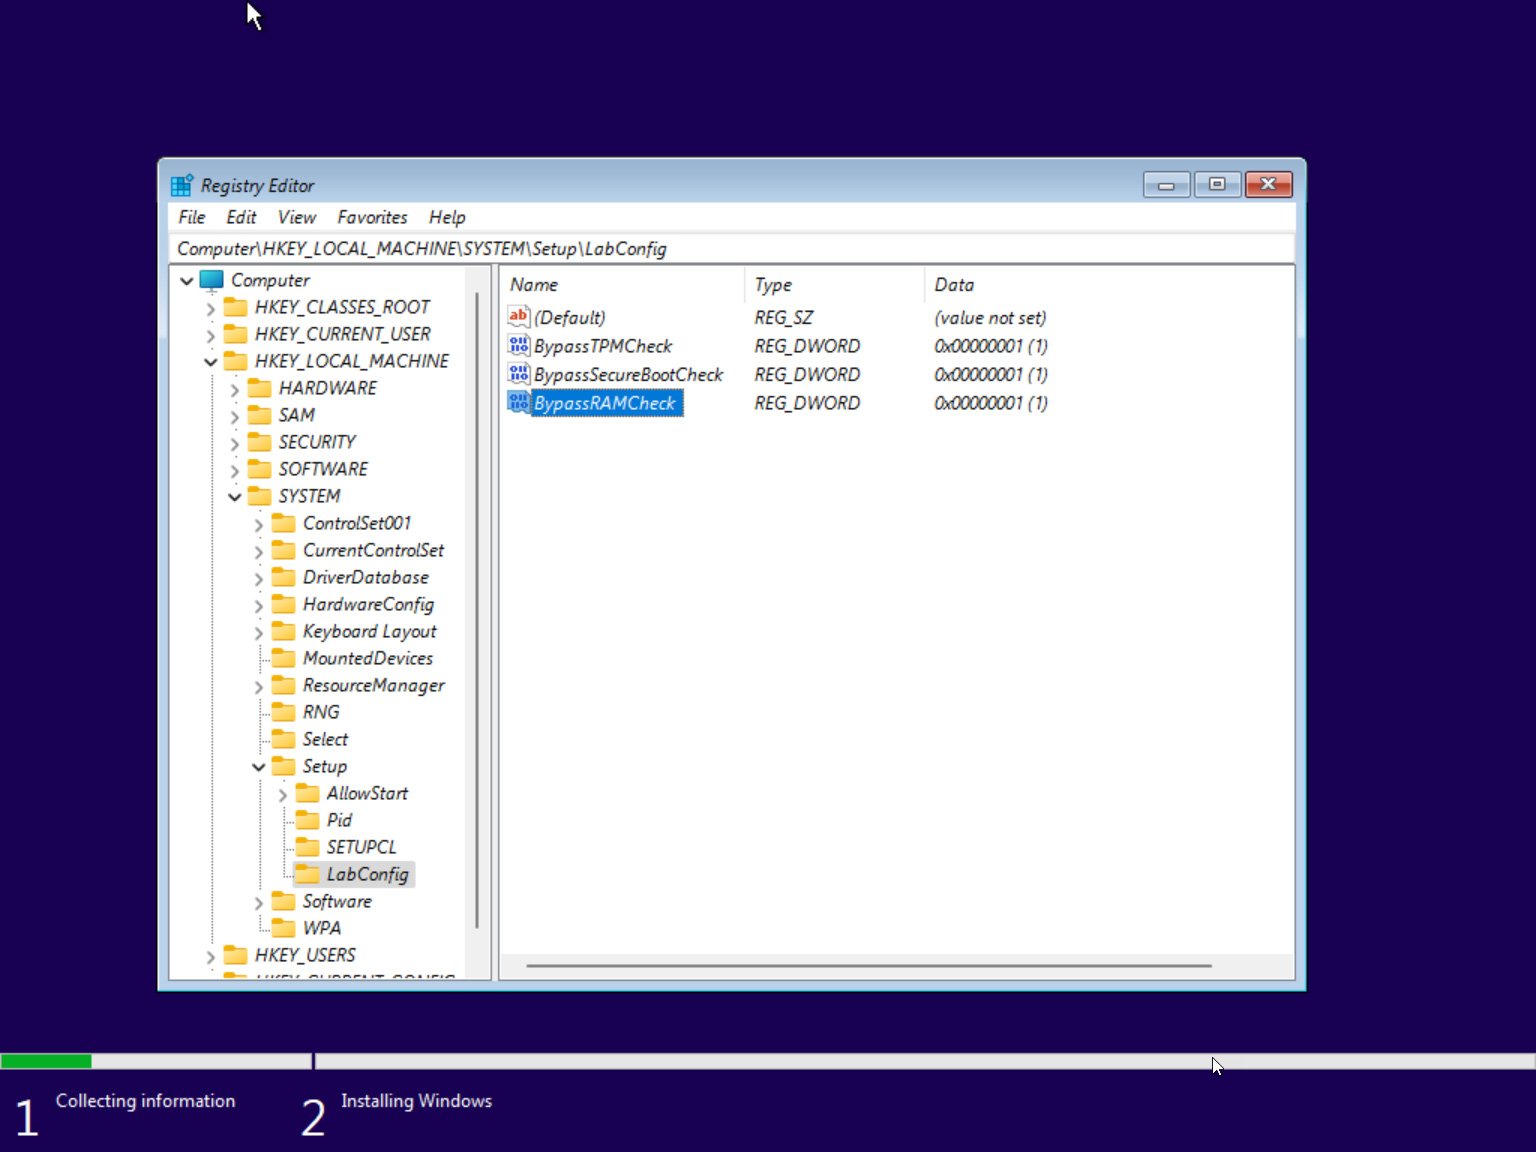
Configuring the Registry to bypass hardware requirements - Once you configure those three values under the LabConfig key, close the Registry Editor, and then type exit in the Command Prompt followed by enter to close the window.
-
You will now be back at the message stating that the PC can't run Windows 11. Click on the back button in the Windows Setup dialog, as shown below.
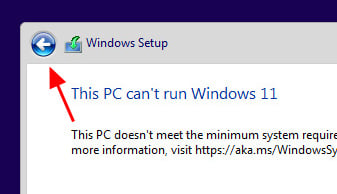
Press the back button in Windows setup -
You will now be back at the screen prompting you to select the version of Windows 11 you wish to install. You can now continue with the setup, and the hardware requirements will be bypassed, allowing you to install Windows 11.
Hardware requirements are now bypassed
It is important to note that disabling these features could affect the performance or stability of Windows 11, so be sure to only use them on a virtual machine or test box that are you are ok with working in an unsupported environment.
Furthermore, by disabling the TPM 2.0 requirement, you are effectively reducing the security in Windows 11.
Finally, running Windows 11 on anything less than 4GB will not be an optimal experience and is not recommended.
H/T Albacore


Recommended Comments
Join the conversation
You can post now and register later. If you have an account, sign in now to post with your account.
Note: Your post will require moderator approval before it will be visible.