
3175x175(CURRENT).thumb.jpg.b05acc060982b36f5891ba728e6d953c.jpg)
If you want to grab all or a part of your computer screen, the Snipping Tool in Windows 11 lets you capture it easily. Besides, you can even add colored borders to the captured region, but you first need to enable settings related to the feature. Let’s find out how it is done!
Add colored borders to Snipping Tool captures in Windows 11
There is more than one way to capture screenshots in Windows 11. However, all those images won’t show borders surrounding them unless they are configured to do so. Here’s how you can change the settings in Windows 11 Snipping Tool to add custom color and change border thickness for images.
-
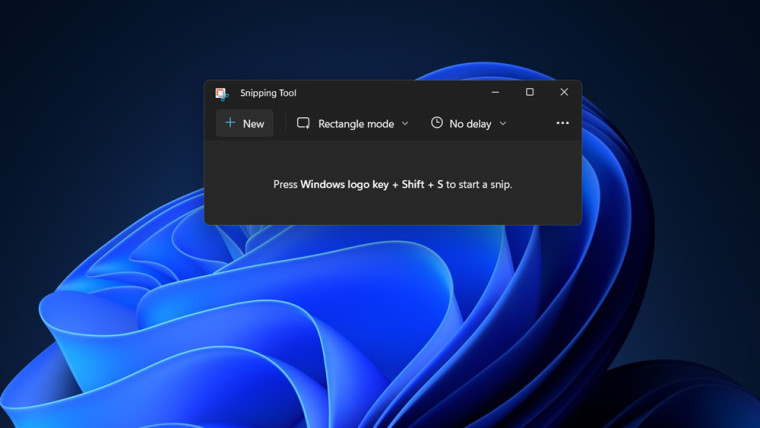
Click on Start and in the search box, type Snipping Tool and select it from the list of options displayed.

-
Click the See more menu visible as three horizontal dots in the upper right corner of the Snipping Tool window. Choose the Settings option.

-
Scroll down to the Add border to each screenshot option under the Snipping section. To enable borders for the screen captures, toggle the switch to the ‘On’ position.

- If you would like to add a custom color and adjust the thickness of the borders surrounding images, hit the drop-down button next to the Add border to each screenshot option.
Choose a custom color to change the color of the outline. Simply tap the color box and select the desired color. Similarly, move the slider to the right or left to adjust the border thickness of the images.
- vitorio and dabourzannan
-
 2
2
Recommended Comments
There are no comments to display.
Join the conversation
You can post now and register later. If you have an account, sign in now to post with your account.
Note: Your post will require moderator approval before it will be visible.